Ever walked through your door excited about a bundle of new art, but unsure how it'll look once it's hung?
Have you wondered whether height or size matter? Or if there's some kind of magic hanging formula?
There is :)... sort of.
It's not quite magic, but the tips below make things a whole lot easier when hanging groups of small art pieces. Because nobody wants a bunch of extra holes in the wall or a stack of paintings sitting in the corner!
So let's get started.
Tip 1: Hang at Eye Level


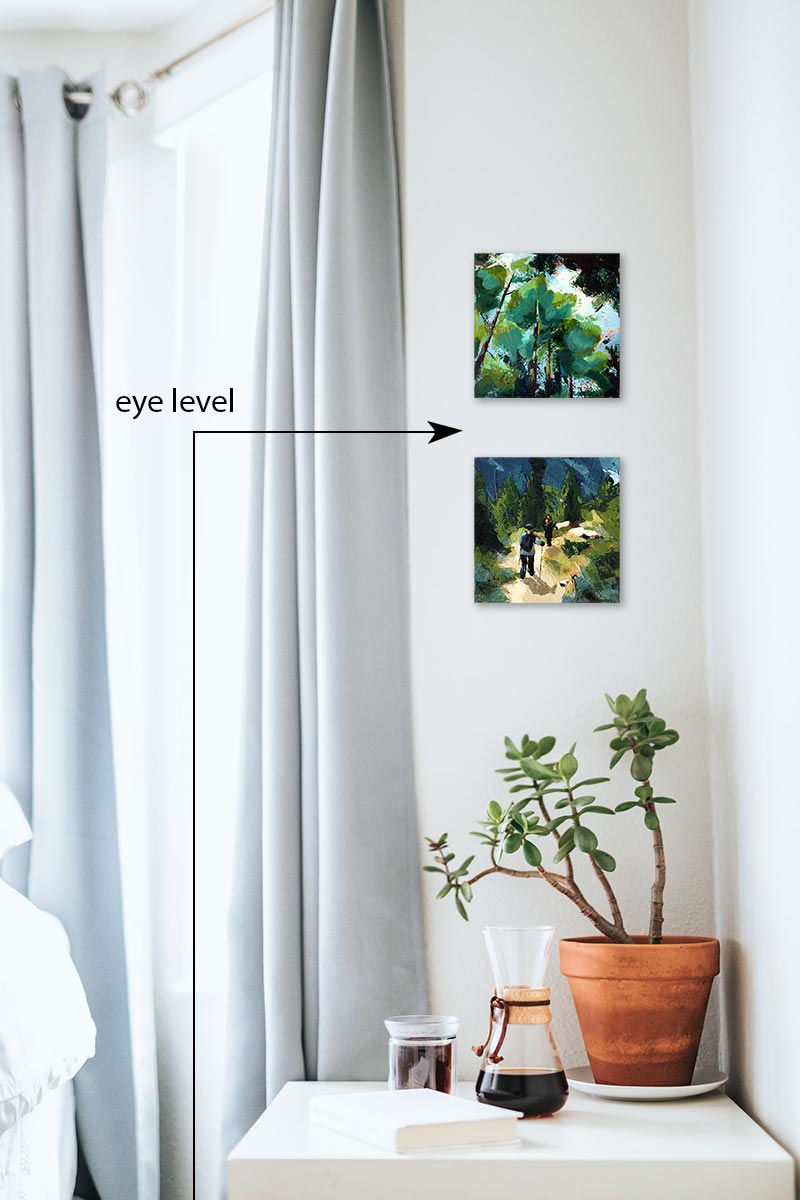
The #1 rule of hanging artwork... hang at eye level!
One of the most common things that people do is hang art too high.
If you notice this in your home, don't worry! It's an easy fix. And worth bringing artwork down because it adds warmth and comfort.
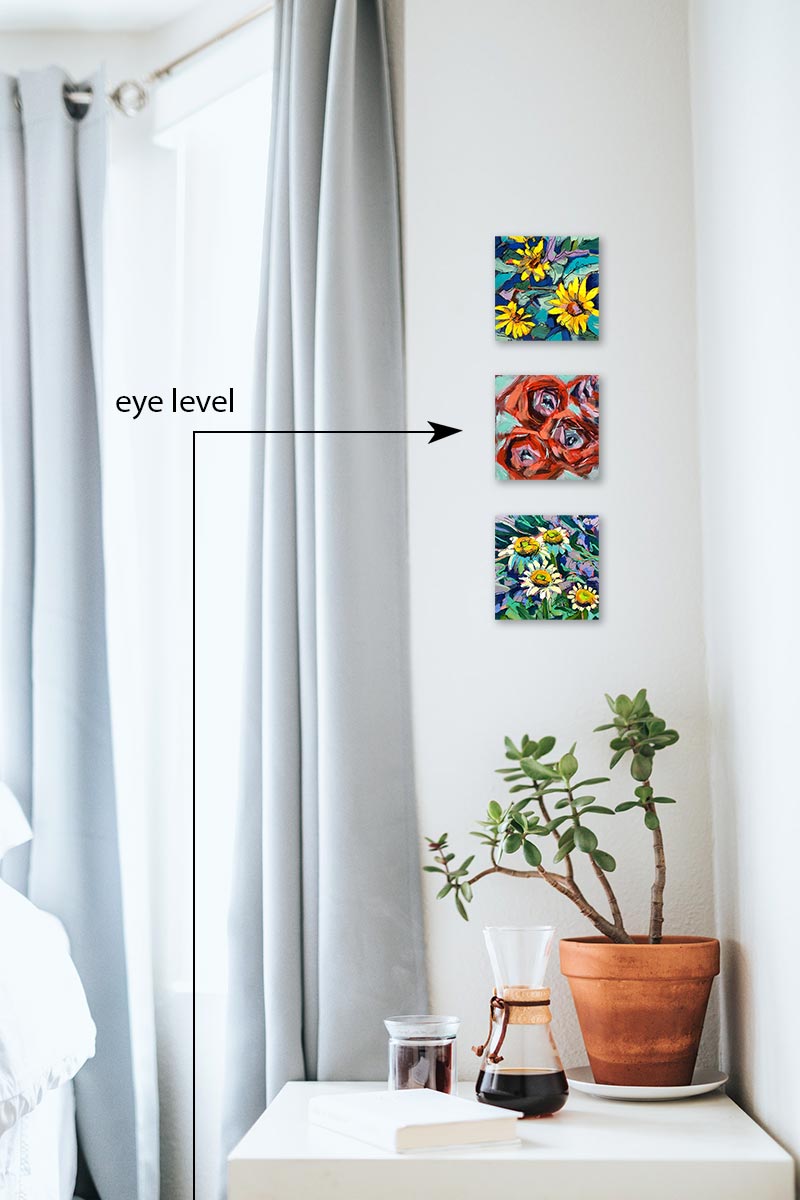
Eye level for most people is 57-60”. This is the height you will measure from the floor to the center of the painting, or center of the group.
Pick a height from within this range and use it consistently throughout your room with all artwork, small and large.
(exceptions to this rule, like hanging above tall furniture or in a room with high ceilings are covered in my "Guide to Hanging Art in your Home"... coming soon. Join my Insider's Circle to get it by email)
Tip 2: Use Consistent Spacing

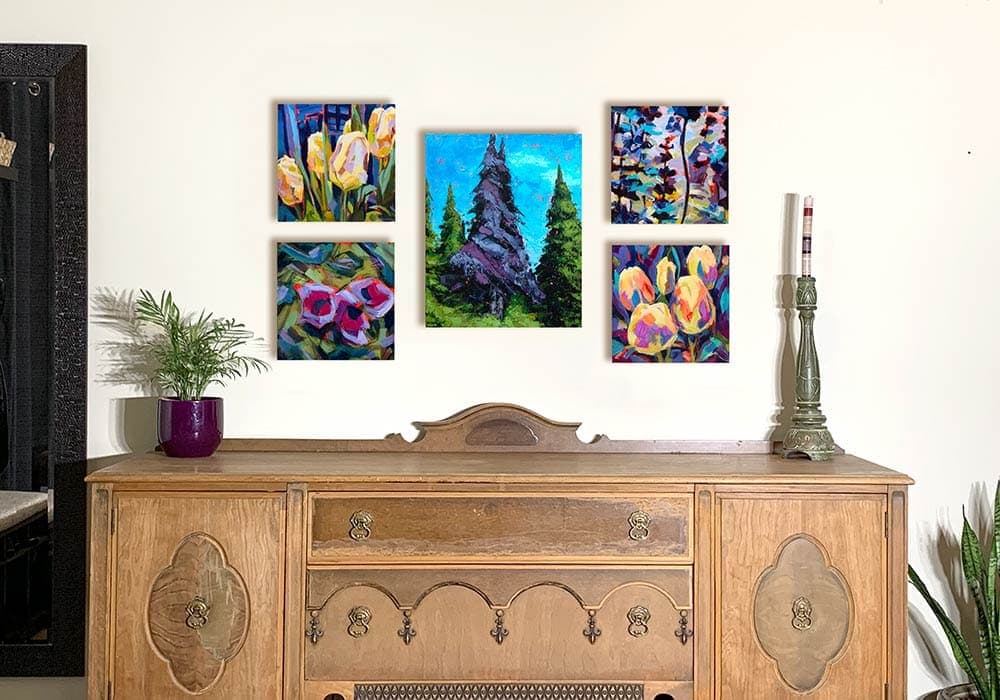
Use the same measurement between all paintings or try a pattern. Above uses two different spacings but stays consistent. Vertical spaces are 3 inch and horizontal spaces are 2 inch.
For a grouping of art to appear cohesive, all pieces need to read as a unit. Spacing is key to make this happen.
- Use equal spacing or a pattern of consistent spacing.
- 2-6" between pieces is good for most groups. Small spacing works well with tight groupings or small walls. Large spacing is suited to wide groupings or large walls.
- Too much space between pieces can make the group feel scattered.
- Do a mock-up to check that spacing looks good before putting hammer to nail.
Tip 3: Mock-up before you hammer

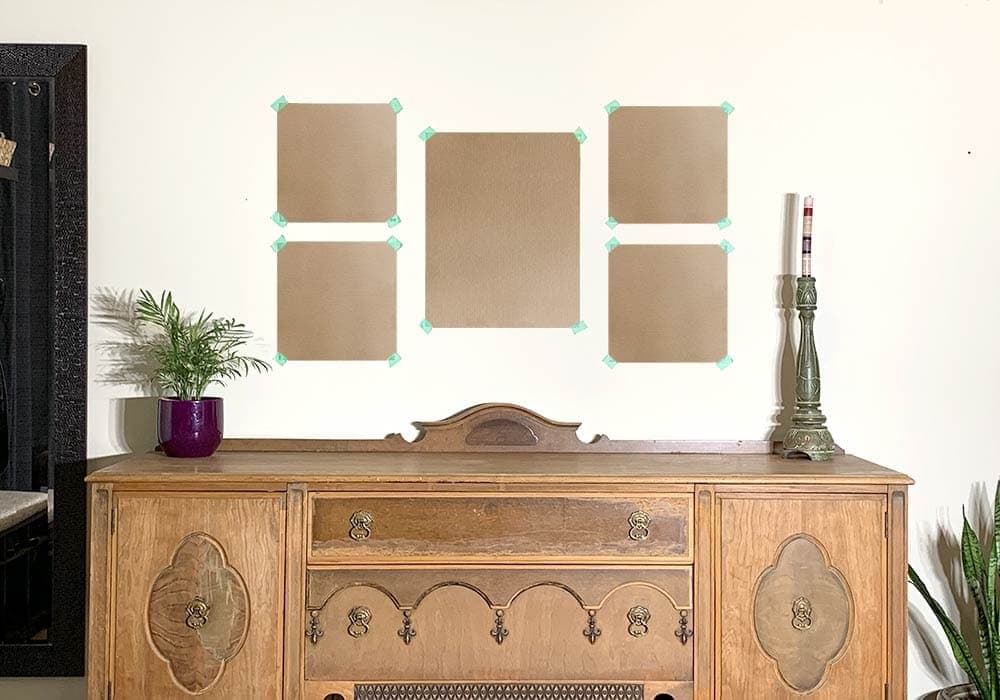
Creating a mock-up involves taping life-size paper cut-outs on the wall of the art you'd like to hang.
This can be extremely helpful, especially in preventing extra holes in your walls! I definitely recommend it when hanging multiple pieces.
HOW TO CREATE YOUR MOCK-UP:
- Grab some paper (kraft or wrapping paper works well), painter's tape, scissors, a pencil, tape measure and level.
- Lay artworks on the paper and trace their shapes.
- Cut out the paper shapes and mark the hanging points from the back of each piece of art
- Move art to a separate area of the floor and create the layout you like.
- Replicate the layout on your wall by tacking the paper shapes to it with painter's tape. Start with the piece closest to the middle and work your way out. Use your measuring tape and level to get the shapes spaced correctly.
- Take a step back. Does the arrangement and height look good? Does it work in relation to furniture and surrounding objects? Adjust things to your liking. Remember, the middle of the entire grouping should rest at eye-level. If it's above a couch or chair, leave 8-10” clearance for heads.
- As the saying goes, measure twice, hammer once! After you've given your layout a final check, you're ready to start adding nails.
Not finding the perfect painting? Join my Insider's Circle to get early access to new collections when they're released.
PS - You may also enjoy “How to add small paintings to full walls”.


